How to Create New Pages, Blocks, and Widgets Using Magento 2 CMS
Magento released the latest version, Magento 2.3.0 and there are changes in the basic Magento 2 admin panel menus and fields.
So, here I’m with a detailed post on how to create new pages, blocks, and widgets using Magento 2 CMS. The methods here are in reference to the latest Magento 2.3
Magento 2 CMS pages are used to display parts of your catalog or other details useful to the customers. Magento 2 blocks allow admin to add and control the chunks of HTML code that can be displayed throughout the store. You can get all CMS Pages In System Configuration in Magento 2 for an reason, when the admin needs to choose and exclude CMS page from a list of all CMS pages in system configuration.
Widgets in Magento 2 CMS are reusable components that can be added to any CMS blocks. They offer a lot of features and extend the core functionalities.
Method to Create New Pages, Blocks, and Widgets Using Magento 2 CMS:
Create a New Page Using Magento 2 CMS:
Follow the below steps:
- Add a new page
- Enter the content
- Search Engine Optimization
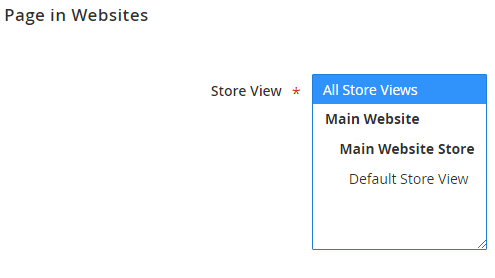
- Pages in Websites
- Design
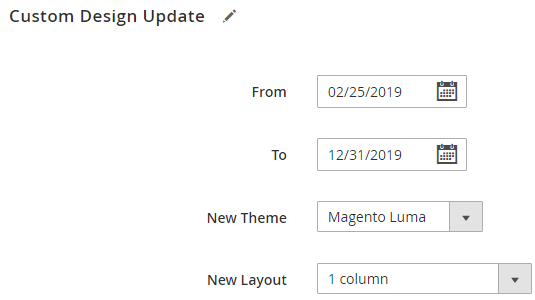
- Custom Design Update
- Save
Going through each step,
-
Add a new page
-
Enter the Content
-
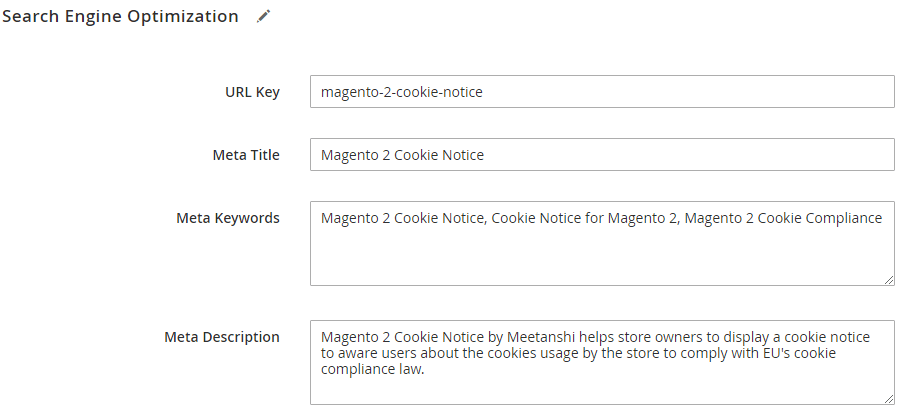
Search Engine Optimization
-
Pages in Website
-
Design
-
Custom Design Update
-
Save
- Save the configuration with the “Save” button.
Create a New Block Using Magento 2 CMS:
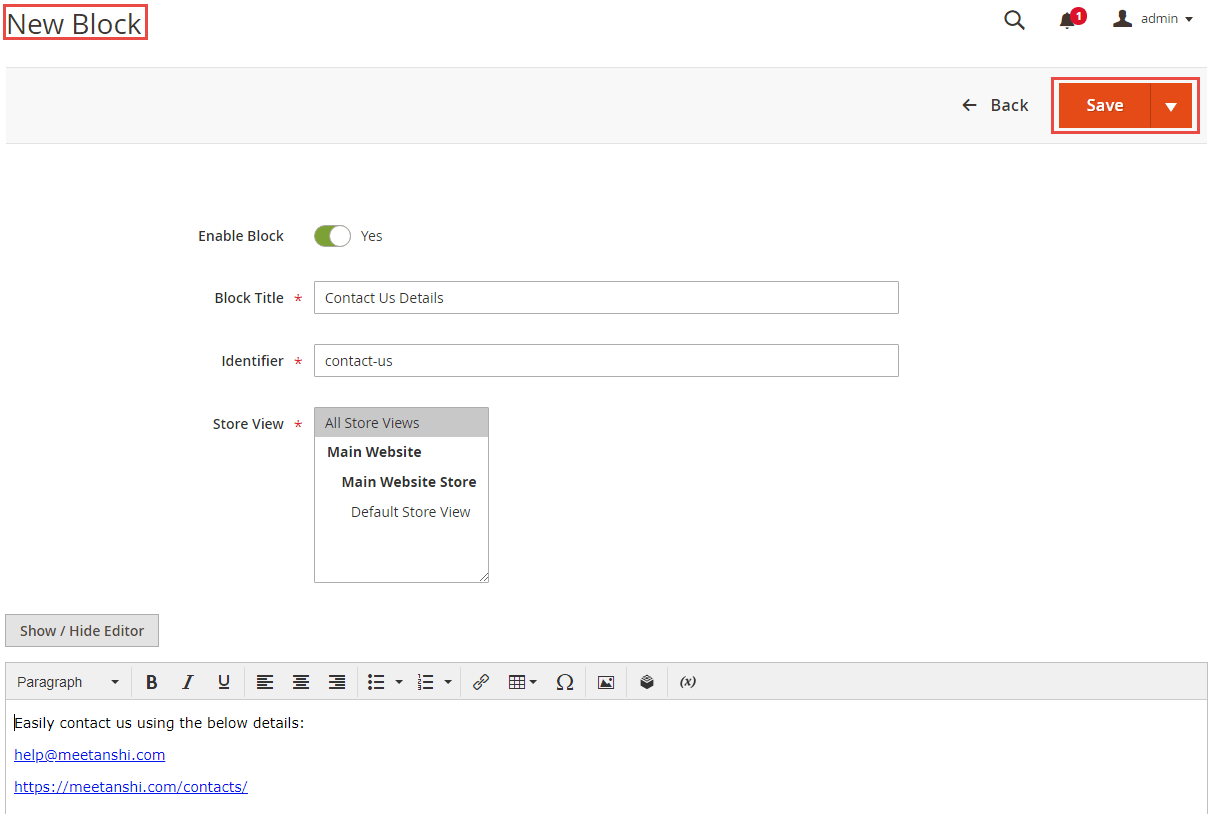
- Navigate Content > Elements > Blocks.
- Click the “Add New Block” button.

- Enable Block status.
- Enter the “Block Title” which can be descriptive.
- Enter the “Identifier” which has to be unique and in lowercase. Do not use space, instead use the underscore. The identifier is the internal reference used by the system.
- Select the Store View to enable the block for.
- Enter the content for the block. You can place links, images, videos, tables, etc. in the content.
- Save the block configuration with the “Save” button.
Create a New Widget Using Magento 2 CMS:
- Navigate to Content > Elements > Widgets.
- Click the “Add New Widget” button

- Select the “Widget Type” that you want to create and the “Design Theme” that is to be used in the widget.
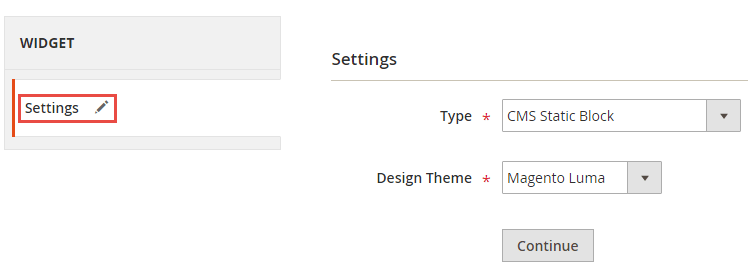
- Click on “Continue“
- Add the descriptive “Widget Title“
- Select the store views in “Assign to Store Views” where the created widget will be available.
- Enter the sort order. Enter 0 for the top position.
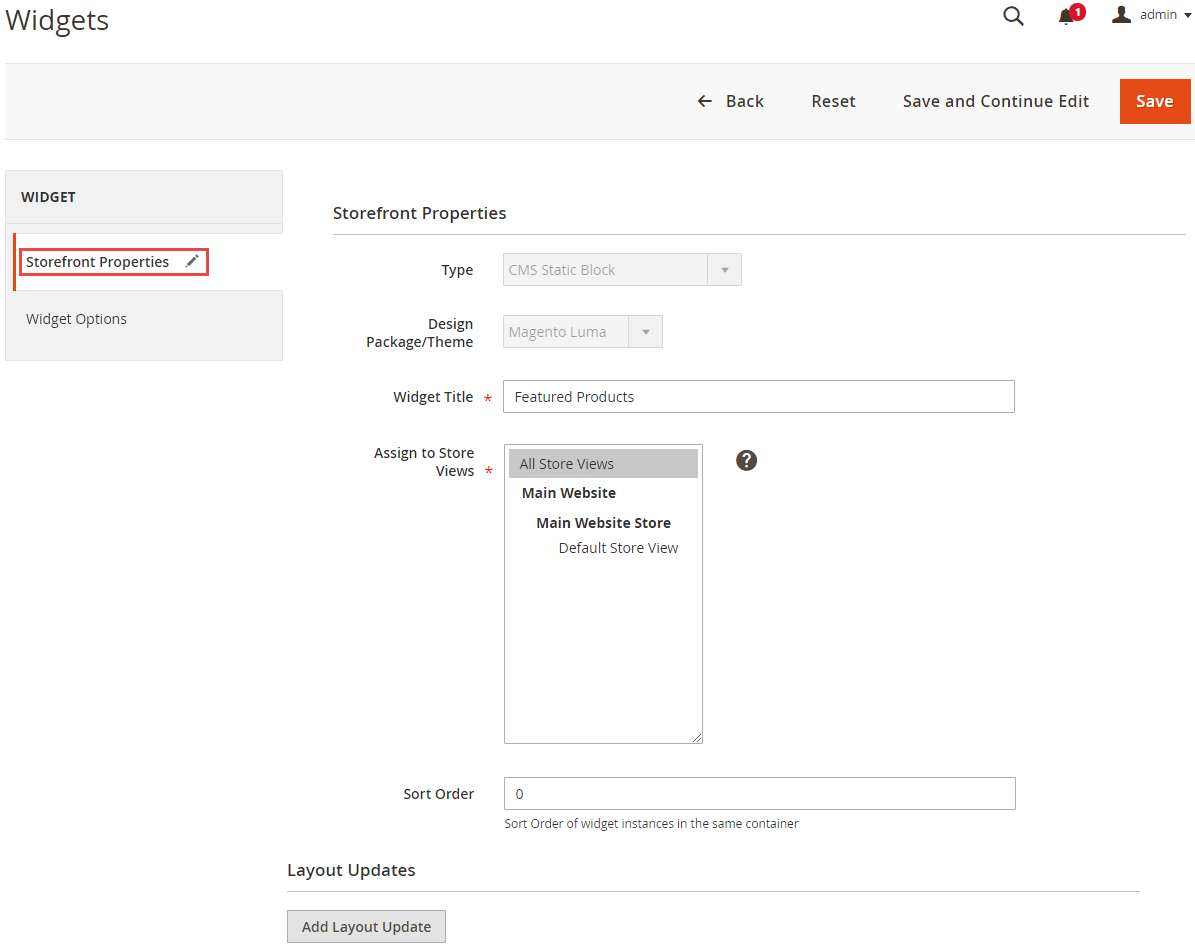
- Click on the “Add Layout Update” button under Layout Updates.
- Select the type of category or product page where the widget will appear, from the “Display On” dropdown.
- In Page, Container and Template lists set the block or section for the widget to appear.

- Click “Save and Continue Edit” to save these configurations.
- Under “Widget Options” select the block where you want to locate it.
- Save the configuration.

Clear cache after you create new pages, blocks, and widgets using Magento 2 CMS.
Hopefully, the above guide is helpful to you.

Any doubts in the process are welcome in the comments section below and I’d be happy to help.
Hit 5 stars if the post was useful to you!
Thank you 🙂
Sanjay Jethva
Sanjay is the co-founder and CTO of Meetanshi with hands-on expertise with Magento since 2011. He specializes in complex development, integrations, extensions, and customizations. Sanjay is one the top 50 contributor to the Magento community and is recognized by Adobe.
His passion for Magento 2 and Shopify solutions has made him a trusted source for businesses seeking to optimize their online stores. He loves sharing technical solutions related to Magento 2 & Shopify.





Prev
How to Create Admin Grid in Magento 2
How to Update Authorize.Net Direct Post from MD5 to SHA-512 in Magento
Next