How to Create Block and Template in Magento 2
In the previous tutorial of creating route and controller in Magento 2, we learned how to display a message on the web browser using the action method. There was no header and footer displayed in the output.
For that, we need to create a template.
This tutorial explains how to create a block and template file in Magento 2.
When we want to display content using an action method, we need to create a block and template file.
Block file has functions that we use in a template file. Moreover, the template also includes the content that has code related to HTML and PHP.
The XML file for layout demonstrates which block and which template file will be called.
Another important thing to keep that in mind is that you have to create a layout file based on the action that you have developed.
We will continue with the same example that we discussed in the previous tutorial. Therefore, we have to create a file having extension_index_index.xml name. You may have a question why the XML file is created with a name of extension_index_index.xml. It is because the action that we developed was extension/index/index.
Method to Create Block Template in Magento 2
1. Update Controller File:
Earlier, the message was just printed. Now, what we are doing is to print a message with a page.
To do this, we have to update the code in a file app/code/Meetanshi/Extension/Controller/Index/Index.php
|
1 2 3 4 5 6 7 8 9 10 11 12 13 14 15 16 17 18 19 20 21 22 23 |
<?php namespace Meetanshi\Extension\Controller\Index; use Magento\Framework\App\Action\Context; use Magento\Framework\View\Result\PageFactory; use Magento\Framework\App\Action\Action; class Index extends Action { protected $resultPageFactory; public function __construct(Context $context, PageFactory $resultPageFactory) { parent::__construct($context); $this->resultPageFactory = $resultPageFactory; } public function execute() { return $this->resultPageFactory->create(); } } |
2. Create a Block File:
For creating a block file, give the name Form.php and create this file in a given path.
app\code\Meetanshi\Extension\Block\Form.php
|
1 2 3 4 5 6 7 8 9 10 11 12 13 14 |
<?php namespace Meetanshi\Extension\Block; use Magento\Framework\View\Element\Template; use Magento\Backend\Block\Template\Context; class Form extends Template { public function __construct(Context $context, array $data = []) { parent::__construct($context, $data); } } |
3. Create a Template File:
Creating a template file is extremely simple.
Save form.phtml with the given code below and use the path for creating the file.
app\code\Meetanshi\Extension\view\frontend\templates\form.phtml
|
1 |
<h1><?php echo __('My First Extension') ?></h1> |
4. Create a Layout File:
The last and the final file that you need to create a block template is the layout file.
Make sure, the name of your layout file has to be extension_index_index.xml.
In the given path, use the code and save the file.
app\code\Meetanshi\Extension\view\frontend\layout\extension_index_index.xml
|
1 2 3 4 5 6 7 8 9 |
<?xml version="1.0"?> <page layout="1column" xmlns:xsi="http://www.w3.org/2001/XMLSchema-instance" xsi:noNamespaceSchemaLocation="urn:magento:framework:View/Layout/etc/page_configuration.xsd"> <body> <referenceContainer name="content"> <block class="Meetanshi\Extension\Block\Form" name="my.file" template="Meetanshi_Extension::form.phtml"/> </referenceContainer> </body> </page> |
You can check which block file and template file are being called.

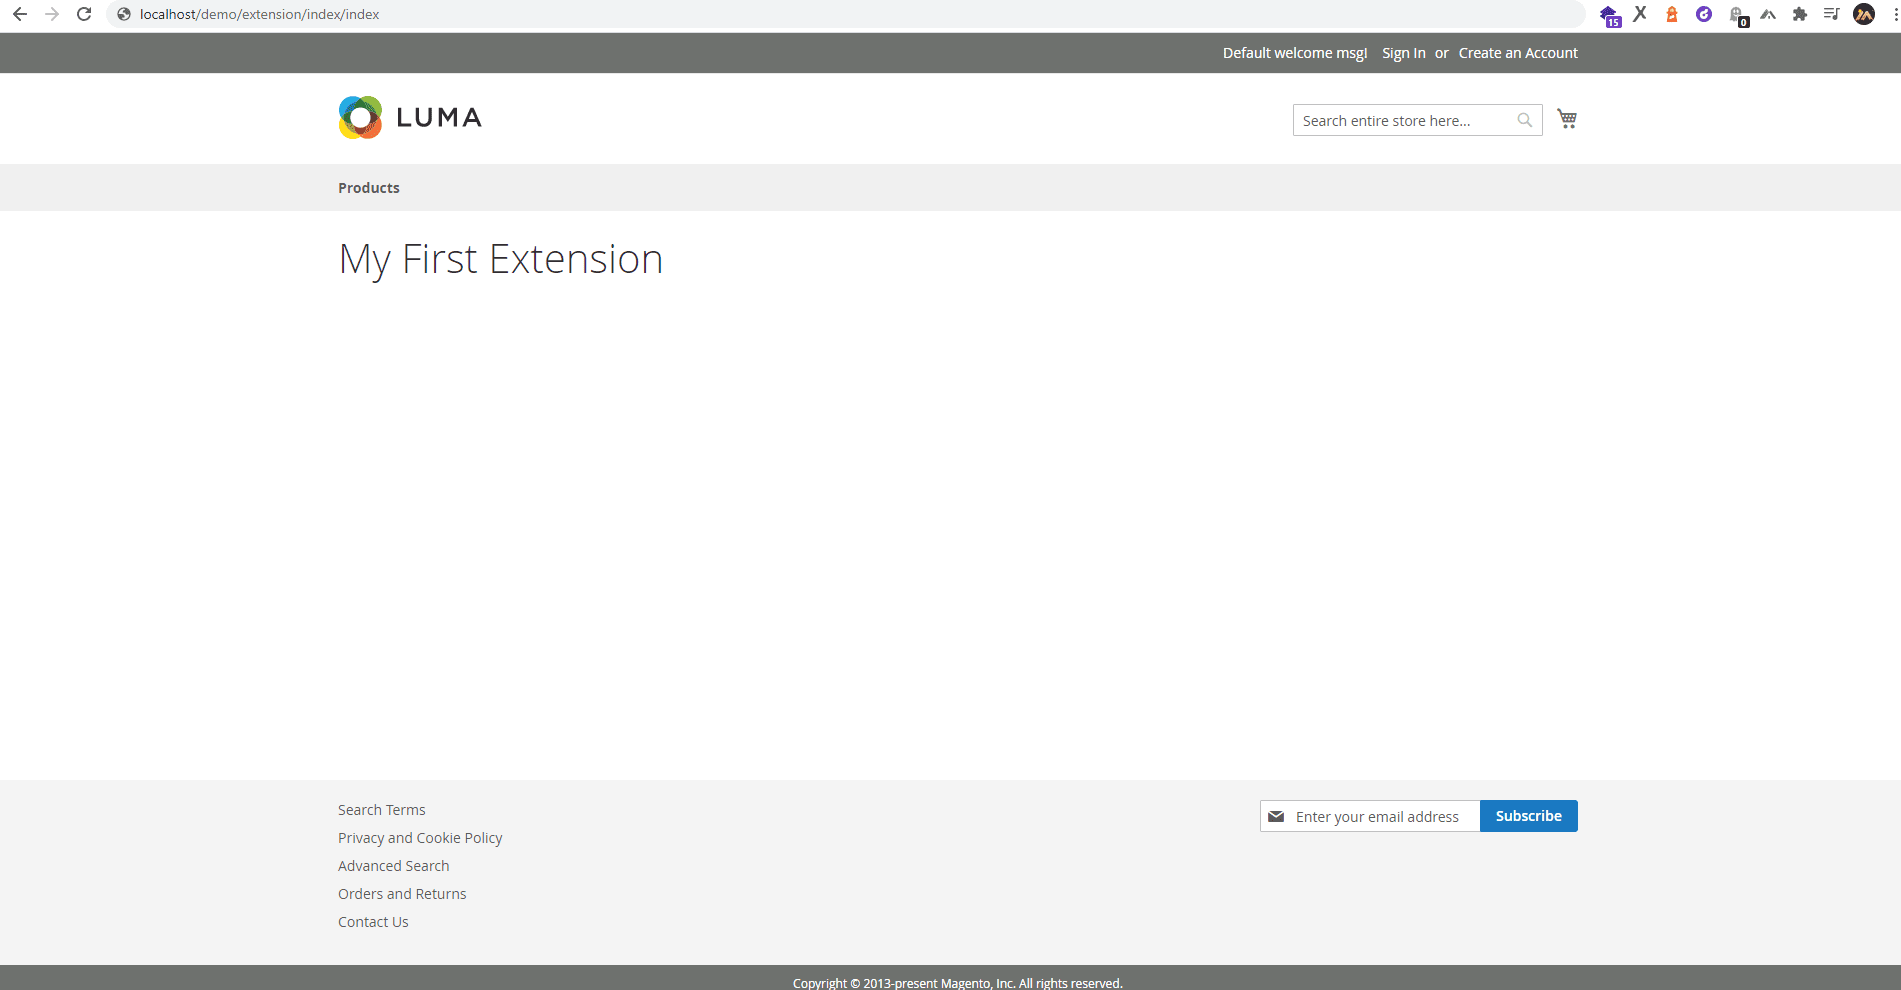
Here is how the output looks on the frontend. As you can see in the below image, the output now shows header and footer.
Also, Luma is a default theme of Magento 2. Therefore, you will see Luma theme for the output of your extension.
You can also call the block from Page Builder in Magento 2.
That’s it.Create table in Magento 2 to store and retrieve the data. Not only that, but you can also perform various operations such as insert, update and delete on the table data.
If you have questions, feel free to ask in the Comment section below.
Do share this post to beginner and passionate who wants to learn Magento extension development.
Thank you.
Jignesh Parmar
An expert in his field, Jignesh is the team leader at Meetanshi and a certified Magento developer. His passion for Magento has inspired others in the team too. Apart from work, he is a cricket lover.


8 Comments
Very Usefull Thanq
Thank You Hardik for your valuable feedback!!
Hi, I am also receiving blank page. Any help is appreciated. I went through the steps to create module, routes etc and was able to get results up until previous lesson.
Hello Priya,
Please check the previous blogs.
You might have been mistaken somewhere in the code.
Thank You.
hi i am getting black page. Error log not displaying any error. May i know where i going to wrong.
Hello Ankit,
Have you created the Meetanshi/Extension custom module?
And, have you created the Meetanshi/Extension/etc/frontend/routes.xml file?
I also experienced a blank page when following the tutorial version 2.4, which was due to an incorrect layout name assigned in extension_index_index.xml.
Changing it to layout=”1column” worked for me. Perhaps the names of the layouts have changed in newer versions.
Thanks for the work on these tutorials, very helpful.
Hello Luke,
Instead of:
it will be:
I hope it helps.